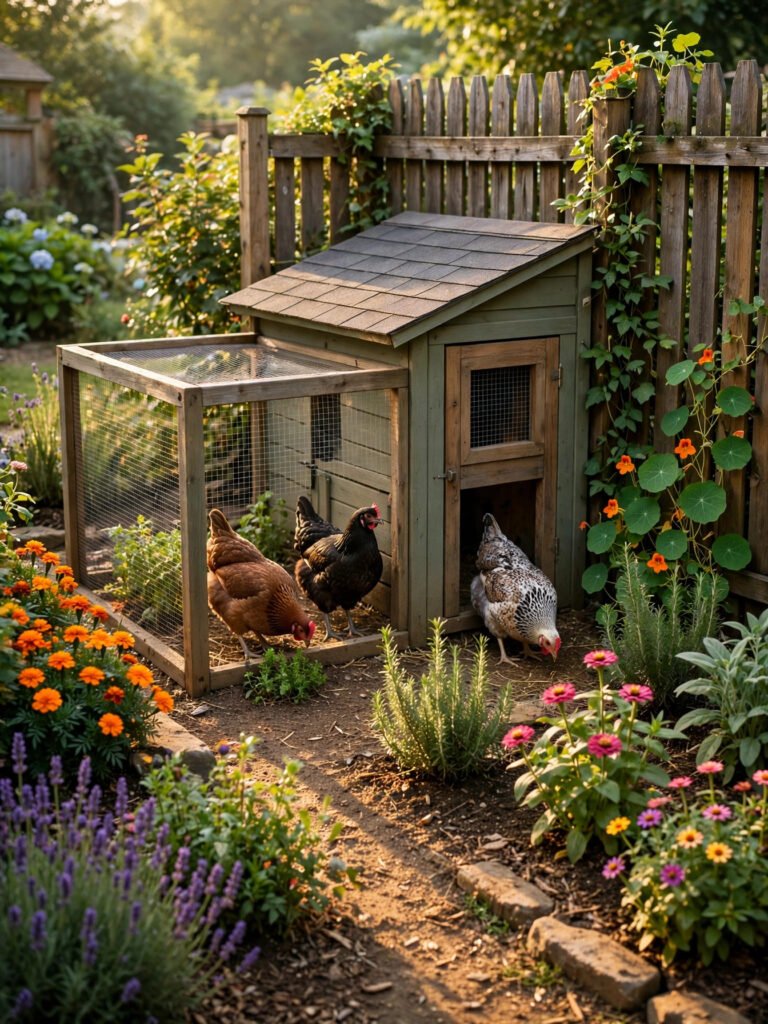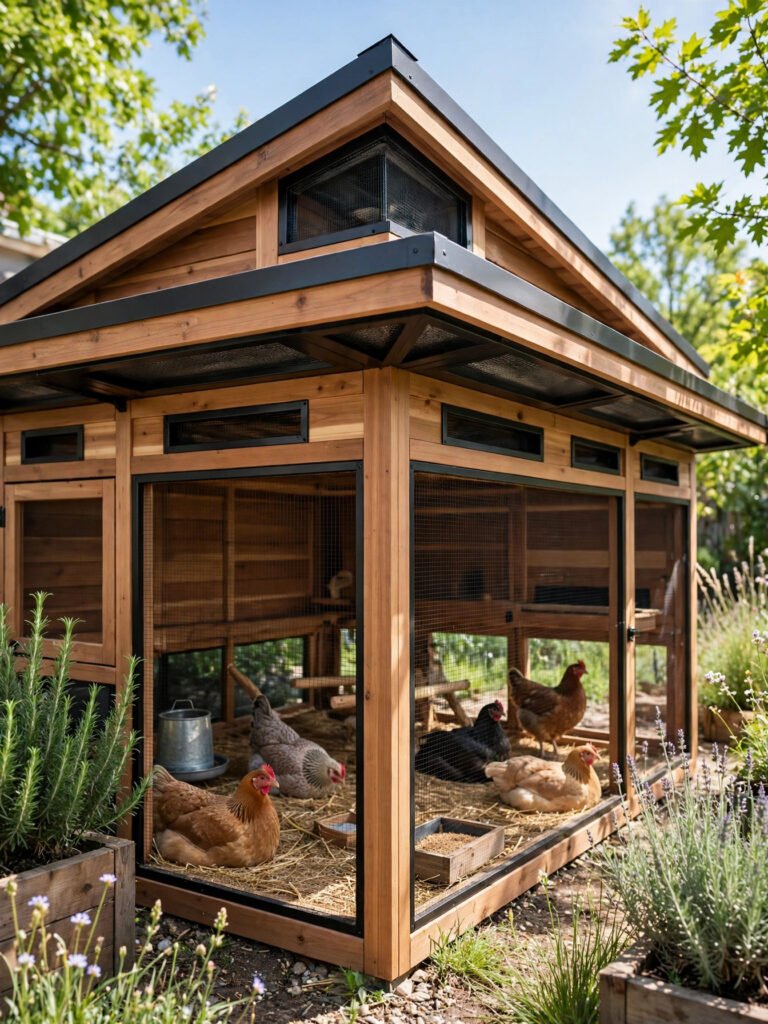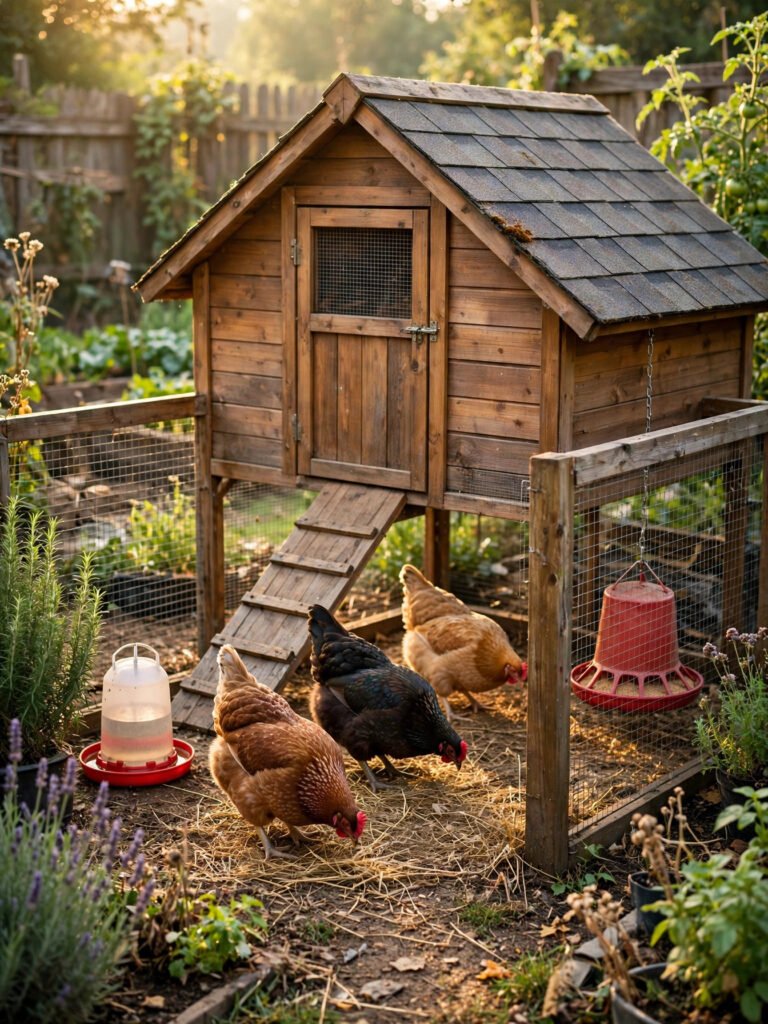
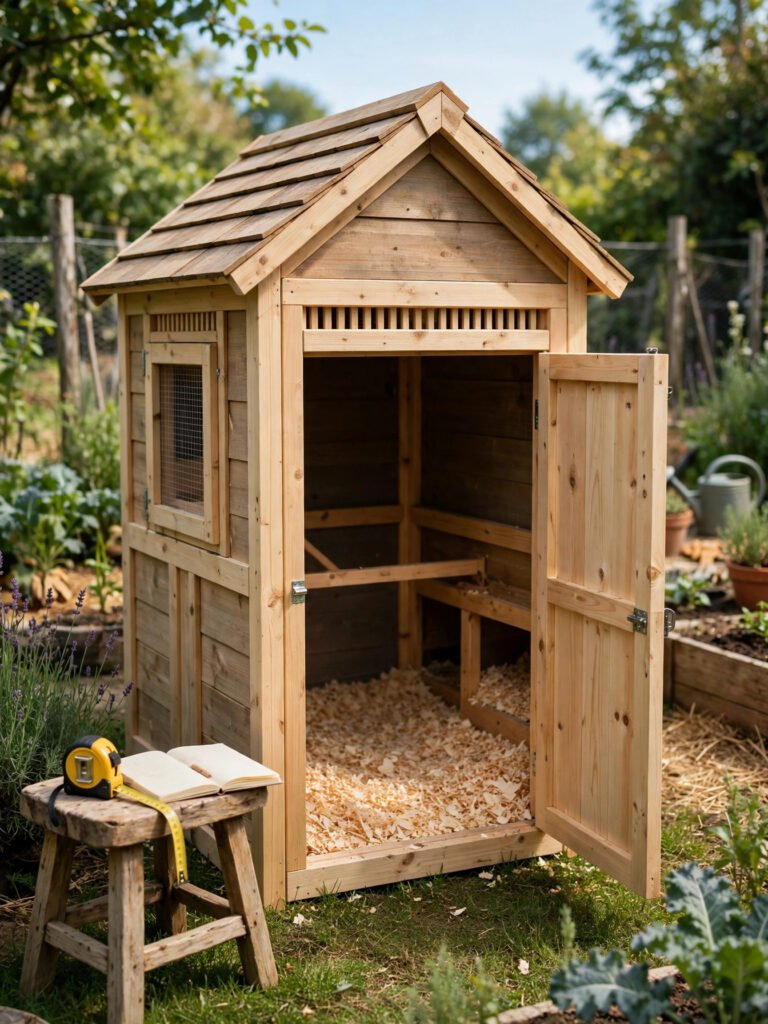

Almost every beginner regret I hear about starts the same way: the coop was bought or built in the wrong order. The boxes went in before anyone measured the floor. The hens arrived before the latches did. This chicken coop checklist fixes the order. It runs the way a build should run — planning first, the coop second, predator proofing third, feeding fourth, and the final checks last — and you tick each line off before you move to the next group. Work through it in sequence and there is very little left to go wrong.
The page prints cleanly, boxes and all, so print it, pin it to the workshop wall, and tick the boxes off with a pencil as you go. There is something deeply satisfying about a checklist that is all ticks by the time the hens arrive. Brand new to chickens? Read our guide to backyard chickens for beginners first, then come back here with a tape measure.

Before You Buy or Build
Five decisions that cost nothing to make now and a fortune to remake later:
- ☐ Measure the space you actually have. Tape measure, not guesswork — every other number on this page hangs off this one.
- ☐ Check your local rules and setbacks. Many towns allow hens but ban roosters, cap flock sizes, or set a minimum distance from the fence line.
- ☐ Decide your flock size first. The coop gets sized to the hens, never the other way round — 4 to 6 is the sweet spot for a first flock.
- ☐ Pick the spot before you pick the coop. High, dry ground with morning sun and afternoon shade; our guide to where to put a chicken coop walks the whole yard with you.
- ☐ Rough out a budget that includes the run. The coop is only half the structure, and the run, wire and latches are not optional extras.
The Coop Itself
These five numbers are the whole design. Get them right and the coop works; miss one and you will feel it every single day:
- ☐ 4 square feet of open floor per hen. Only floor the hens can walk on counts — the full math is in our guide to how much space chickens need.
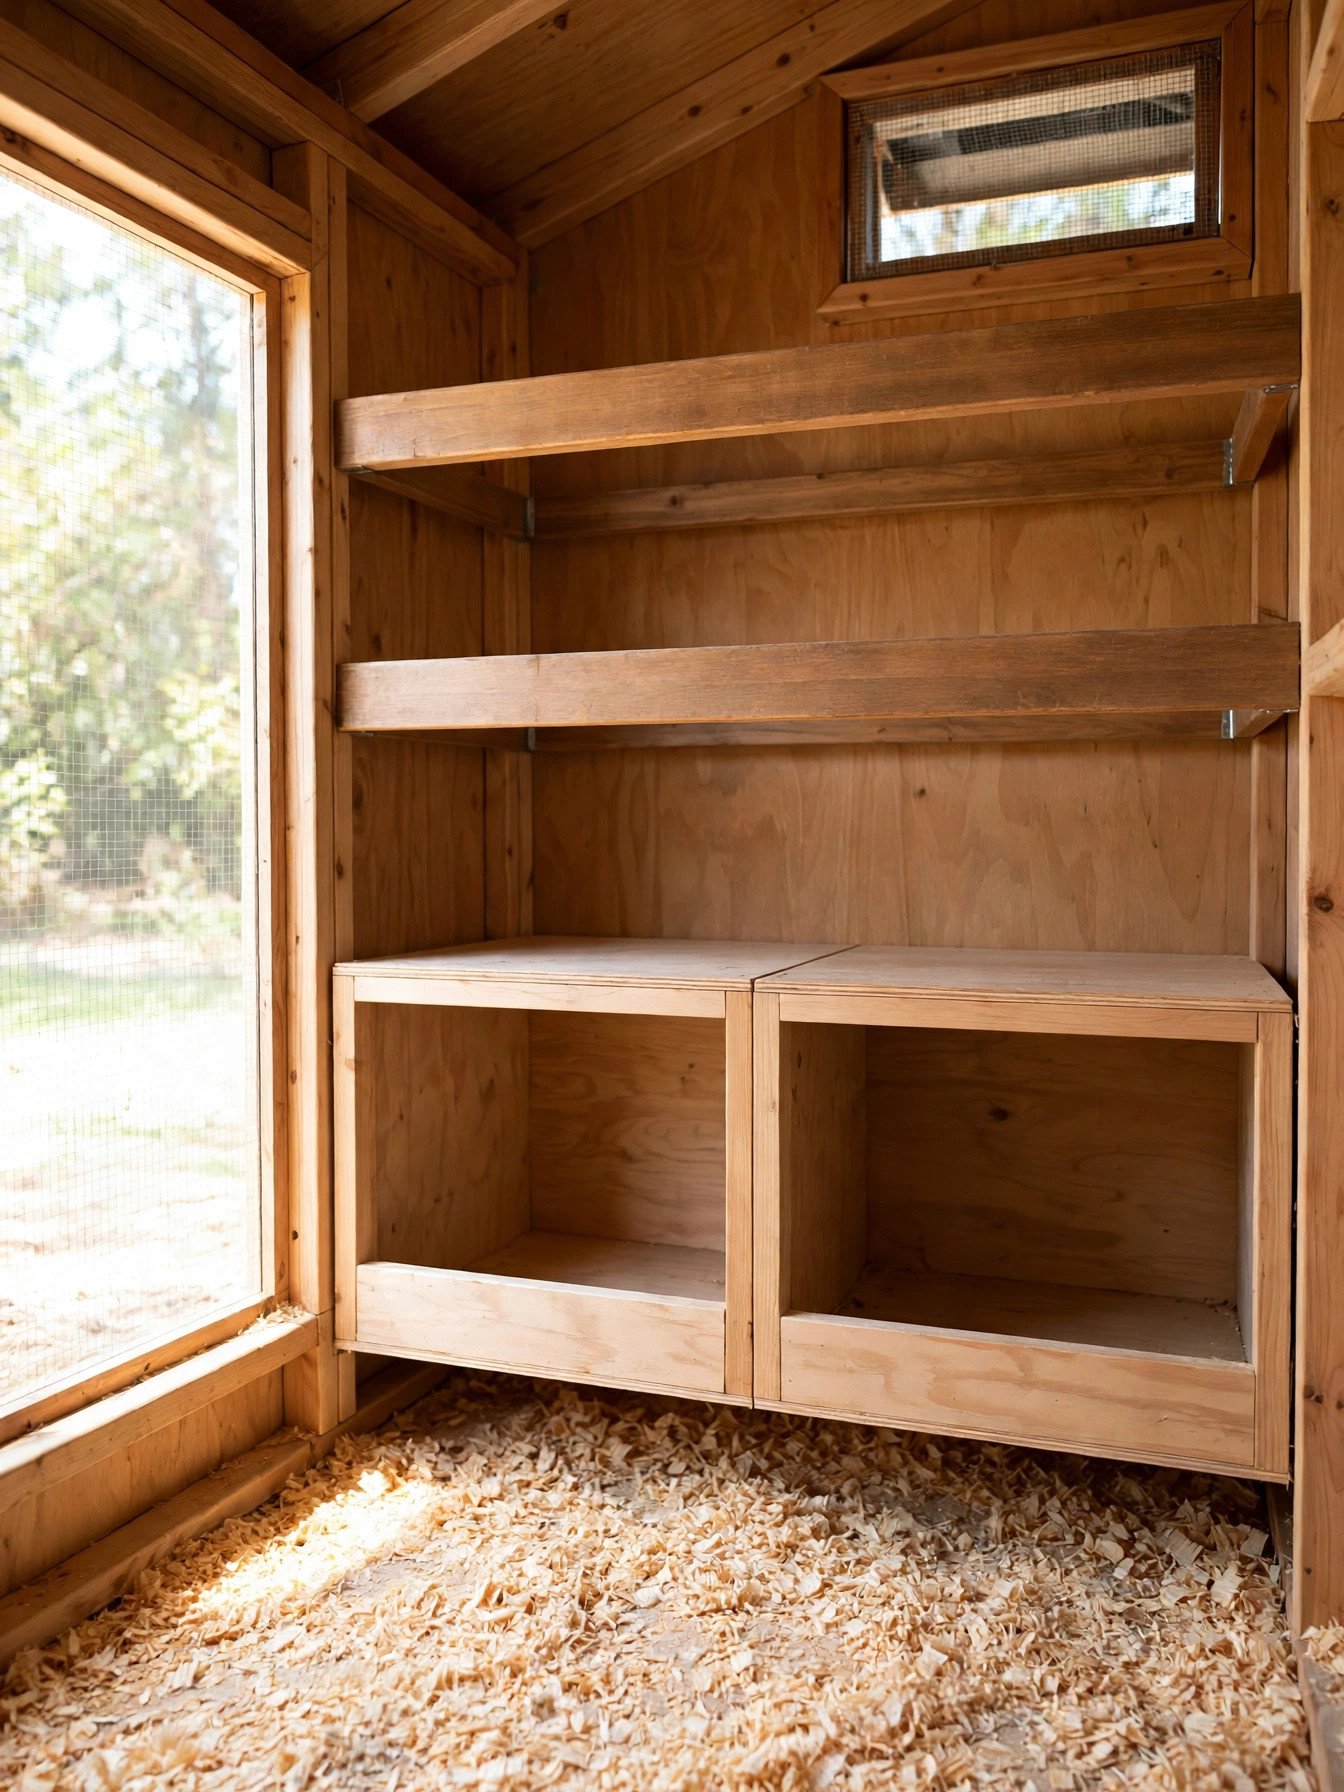
- ☐ Roosts higher than the nesting boxes, at 10 inches per hen. Hens sleep at the highest point they can reach, and a box that gets slept in is a box full of dirty eggs.
- ☐ One nesting box per 4 hens, minimum 2. Even a tiny flock needs a spare, because one broody hen in a single box blocks the whole flock.
- ☐ Ventilation up high, about 1 square foot per hen. Moisture and ammonia rise and escape above the roosts, without a draft blowing across sleeping birds.
- ☐ A human door you can actually clean through. If you cannot reach every corner with a scraper, the corner does not get cleaned — walk-in access or a big cleanout door, no exceptions.
Predator Proofing
Do this group before the hens arrive, not after the first bad night. Predators test a new coop within days:
- ☐ Half-inch hardware cloth on every opening. Windows, vents, run walls — chicken wire keeps chickens in and nothing out, so swap it for 1/2 inch, 19 gauge hardware cloth fastened with screws and washers.
- ☐ An apron of mesh flat around the base. 12 to 18 inches wide, pinned at the outer edge — diggers start at the fence line, hit wire, and give up.
- ☐ A covered run. Hardware cloth or a solid roof over the top, edges fastened down, or hawks and climbing raccoons treat the run as an open door.
- ☐ Two-step latches on every door. Coop door, nest box lid, cleanout door — if you can open it with one lazy hand, a raccoon can too.
- ☐ No gap anywhere wider than half an inch. Check the roofline, the door edges and the floor corners at dusk, when the gaps show up best.
That is the short version. The long version, predator by predator, is in our guide to how to predator proof a chicken coop.
Feeding and Watering
The daily systems. Small, boring, and the difference between a flock that ticks along and a daily scramble:
- ☐ A feeder that keeps feed dry and off the floor. Wet feed molds, and scattered feed is feed you paid for and the rats ate.
- ☐ A waterer sized to the flock. A laying hen drinks about a cup a day, double in heat — 2 gallons covers a small flock with margin.
- ☐ Feed stored in a metal bin with a tight lid. Never the open bag in the corner; that is a dinner invitation with your name on it.
- ☐ Separate small dishes of oyster shell and grit. Hens take shell when they need the calcium and grit when they need the grinding — free choice, always available.
- ☐ A dust bath spot. A shallow box or a dry corner of loose sand and wood ash — hens bathe to keep mites and lice off, and a flock without a bath will dig one in your flower bed instead.

- Holds a full 50 lb bag of feed — for a flock of 6 to 11 hens that means refilling every 2 to 3 weeks, not every few days
- Three hens feed at once through no-waste ports, so feed ends up in the birds instead of billed out onto the floor
- Rainproof design works inside the coop or out in the run, and it takes up one small corner instead of the middle of the floor
Before the Hens Arrive
The final group, in the last week. This is where a setup stops being a construction project and starts being a home:
- ☐ Bedding down, a few inches deep. Pine shavings or hemp on the coop floor and a layer in the nesting boxes — never cedar, the aromatic oils irritate hens’ airways.
- ☐ The right feed bought and stored. Layer feed at 16% protein for hens that are laying, starter or grower for young birds — the bag should be in the bin before the birds are in the coop.
- ☐ First aid basics in a box. Gloves, antiseptic spray, and the number of a vet who will see poultry, found now rather than during an emergency.
- ☐ A plan for holidays. One neighbor or friend, briefed and bribed with eggs, who can open, close, feed and water while you are away.
- ☐ Run the setup empty for a week. Latches worked, waterer filled, feeder loaded — a dry run finds the leak, the draft and the door that swells shut before the hens depend on them.
The 5 Items People Forget
Every keeper I know has bought at least three of these in a hurry, at the worst possible moment:
- A spare latch and a couple of carabiners. The one on the door will fail on a Sunday evening. Guaranteed.
- A second waterer. One cracks, freezes or gets knocked over, and hens cannot wait until tomorrow for water.
- Grit. Everyone remembers the feed. Nobody remembers the grit, and hens without ranging ground cannot grind food properly without it.
- A dog crate or spare pen. A sick, injured or bullied hen needs somewhere separate within the hour, not after a shopping trip.
- A headlamp. Your first night check, first head count and first emergency will all happen in the dark. They always do.
How to Use This Checklist With the Calculator
The checklist tells you what to get right; the numbers underneath it come from our free Coop Size Calculator. Put in your flock size and it works out the coop floor, run space, roost length and nesting boxes in about ten seconds. Do that first, write the four numbers at the top of your printed checklist, and then every tick below it is measured against your own flock’s figures, not a generic guess.
One honest warning about that calculator: it sizes the coop for the flock you type in, and chicken math is real. The flock of 4 you plan in April has a way of becoming 7 by October. If your yard and budget allow it, run the calculator for two hens more than you intend to buy, and build to those numbers. Nobody has ever written to me regretting the extra square feet.
Frequently Asked Questions
Should I print this checklist or just use it on my phone?
Print it. A paper copy on the workshop wall gets ticked off as you work, survives dirty hands, and does not need a signal in the yard. The page is laid out to print cleanly, checkboxes included.
Do I need to finish every item before I order chicks or hens?
Before they arrive, yes — but chicks buy you time. Day-old chicks spend their first 5 to 6 weeks in a brooder indoors, so the coop checklist needs to be finished by the time they are feathered, not by hatch day. Started pullets arrive ready for the coop, so their deadline is the delivery date.
Does this checklist work if I am buying a prefab coop?
It works even better. Run a prefab coop through the Coop Itself section before you pay for it — measure the real floor, count the real roost inches, and check whether the wire on it is hardware cloth or chicken wire pretending. Most prefab coops need the wire and latches upgraded, and it is far easier to know that before the box is in your yard.
What is the single most skipped item on this list?
The apron. Everyone plans the walls and the roof, and the digging happens underneath both. It is half an hour of work with mesh and landscape pins while the run is new and empty, and a miserable retrofit once the hens are living in it.
The Bottom Line
A good coop is not a lucky accident. It is about twenty-five small decisions made in the right order: measure first, size to the flock, build the five numbers in, proof it against predators before the hens test it for you, and run it empty for a week. Print the list, tick the boxes, and by the time the last one is done you have a coop that simply works. If you are still at the very beginning of the journey, our complete guide to backyard chickens for beginners puts this checklist in the bigger picture.