
Short answer first: installing an automatic chicken door is a Saturday morning job, not a weekend project. Allow about an hour, and the tools are nothing exotic — a jigsaw, a drill, a spirit level and a tape measure. The door does the clever part by itself. Your job is simply to give it a square, level, gap free opening to live in. And that is exactly where bad installs go wrong, in two specific ways: a frame mounted even slightly out of level, and gaps around the edges that a raccoon can work a claw into. Get those two right and almost any door on the market will do its job for years.
The steps below follow the fitting manuals of the major makers — one piece doors, lift doors and geared doors all mount the same basic way — cross checked against the problems owners report again and again in reviews. If you have not actually chosen a door yet, start with our guide to the best automatic chicken coop doors, because the model you pick changes a couple of these steps. Already holding a box? Good. Here is the whole job, in order.
What You Need
- Tape measure and a pencil — you will use both more than any power tool
- Painter’s tape — for marking the cut line without splintering the surface
- Spirit level — the longer the better; a short one lies on uneven wood
- Drill and driver, with a 3/8 inch bit for the corner holes
- Jigsaw with a clean wood blade
- The screws supplied with the door, plus a few longer exterior screws in case the wall is thicker than the maker assumed
- Exterior sealant or thin trim battens, for closing the edge joint afterwards
- A small ramp or step block for the hens, if the finished sill ends up high
- The door’s own manual — genuinely. Two of the numbers below come out of it, not out of this page
Lay everything out before the first cut. An automatic door install has exactly one point of no return, and it is the hole. Everything before it is measuring; everything after it is just screws.
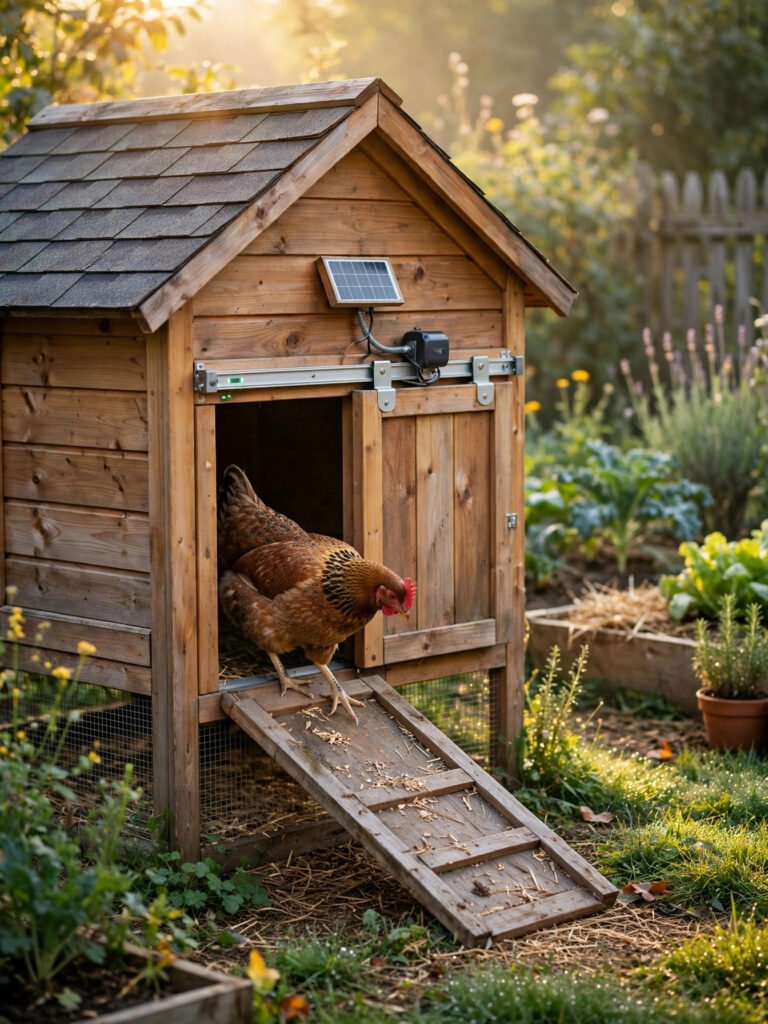
One example runs through this guide, because it is the door most keepers end up fitting: a one piece unit with the motor, battery and panel in a single housing. No separate control box, no wiring strung around the coop — the whole fitting is six screws and ten minutes of setup in an app.

- One-piece weatherproof aluminum door — motor, battery and panel in a single unit, so the whole fit is six screws with nothing else to wire or mount
- Built-in rechargeable battery, rated by RUN-CHICKEN at up to a year per charge in cold climates, up to two in warm ones
- App timer or sunrise/sunset mode, an anti-pinch sensor that stops the door on an obstruction, and rated from -15°F to 140°F
Step 1: Pick the Right Wall and Height
The door obviously goes on the wall the run is on, but within that wall, position matters more than people expect. You need a flat, vertical section a little bigger than the unit all round, with no battens, hinges or trim crossing where the frame will sit. A frame bridged over a batten can never sit flat, and a frame that does not sit flat is the first mistake on the list above, built in before you have drilled a single hole.
Then think about what is happening inside the coop at that spot. Keep the opening clear of the roost bars: a pop door directly behind the roosts puts a January draft across sleeping birds, and hens coming down off the roost at dawn land right in the doorway. Keep it out of the nesting box run too, or you will be collecting eggs around a muddy traffic lane.
For height, set the bottom of the opening roughly 4 to 6 inches above the coop floor. That step up is easy for a hen, and it stops bedding spilling out and, more importantly, stops litter packing against the bottom track. If you run deep litter, go a touch higher or fit a removable threshold board across the inside of the opening: litter stays in, and the board lifts out on cleanout day. If the outside ground sits much lower, plan a ramp or a step block on that side too — the sill height that is nothing to you is a wall to a small bantam.
Last, the sun. A door that works on a light sensor opens when the sensor sees dawn, so an east or south-east facing wall wakes the flock early, while a sensor on a permanently shaded wall can leave hens locked in on a bright morning. If your only flat wall faces the wrong way, that is not a deal breaker — it just means timer mode is the honest choice for that coop, and it is worth settling before you mount anything.
Step 2: Mark and Cut the Opening
Measure the door, not the box it came in. The manual gives the exact opening size the unit needs, and many doors include a paper template — if yours does, tape the template up and mark through it, because that is the one set of dimensions the maker actually guarantees. Working without a template, measure the back of the unit itself, twice, and write the numbers on the wall. Doors differ enough between brands that no measurement from a web page, including this one, should ever touch your coop.
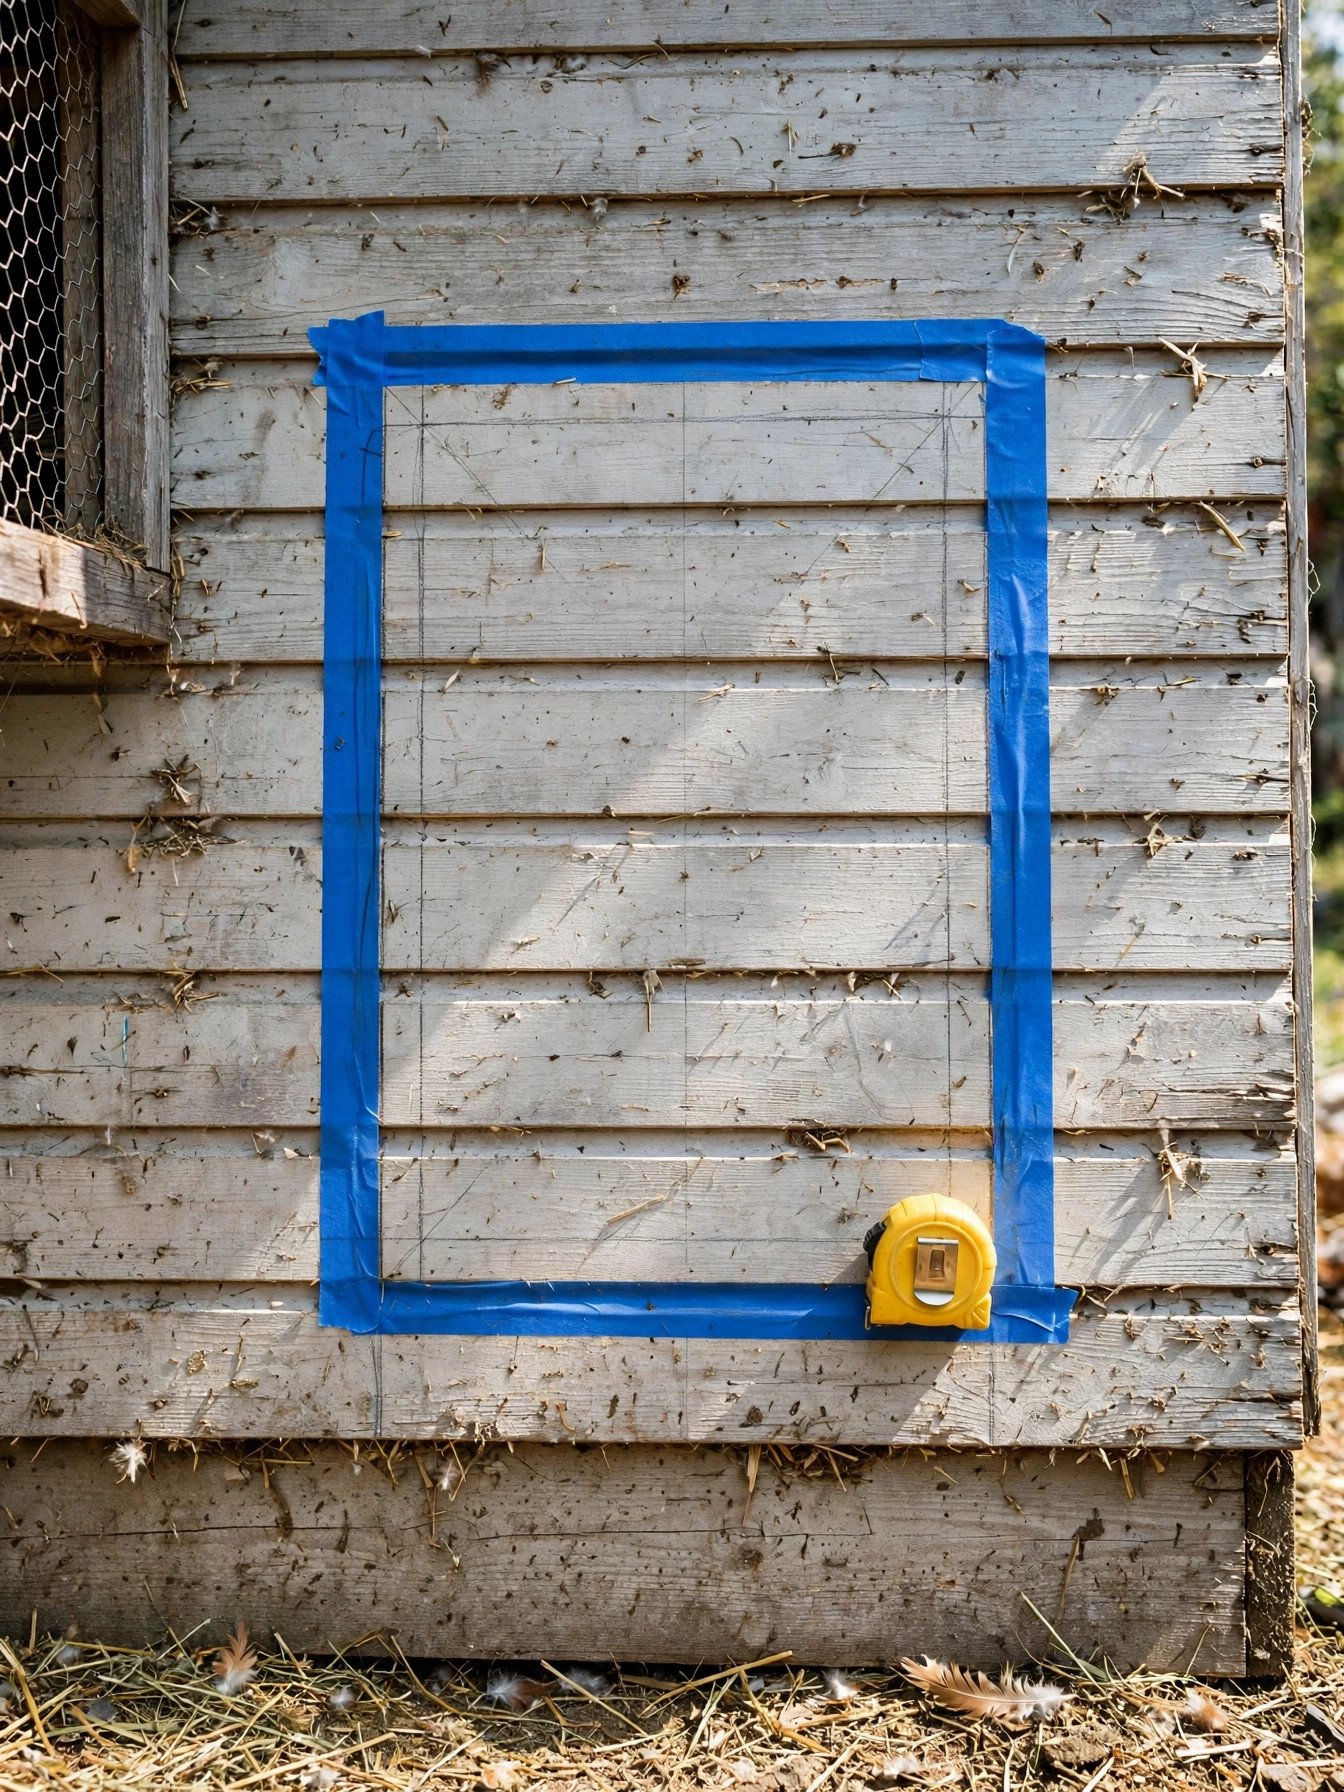
Run painter’s tape along where the cut lines will go and draw the lines on the tape. Tape does two jobs: the pencil shows up clearly, and the blade tears far less surface as it exits. Check the rectangle is square by measuring both diagonals — equal diagonals mean equal corners, and a square hole is what lets the frame sit without being forced. Then drill a 3/8 inch hole just inside each corner. The holes give the jigsaw blade somewhere to start and somewhere to turn.
Cut slowly, and support the offcut with your free hand as you finish the last side so it does not drop and tear the bottom edge. Then — before a single screw — dry fit the door in the hole. It should slide in without force and without a wobble. Shave any tight spot with a rasp or coarse sandpaper, and ease the sharp cut edges while you are there, because your hens will brush past those edges twice a day for years.
Step 3: Mount the Frame Dead Level
This is the step the whole install turns on, so take the time it asks for. An automatic door panel travels up and down in tracks. If the frame hangs even a little out of level — or gets racked, twisted by one corner screw pulled down harder than the rest — the panel drags on one side every single trip. Dragging is a mild nuisance in October. By January the timber has swollen with winter damp, the clearances have shrunk, and the door that used to drag now stops halfway, with the flock on the wrong side of it. Geared doors can muscle through some of that. Everything else just gives up. Level is not fussiness here; it is the difference between a door and a decoration.
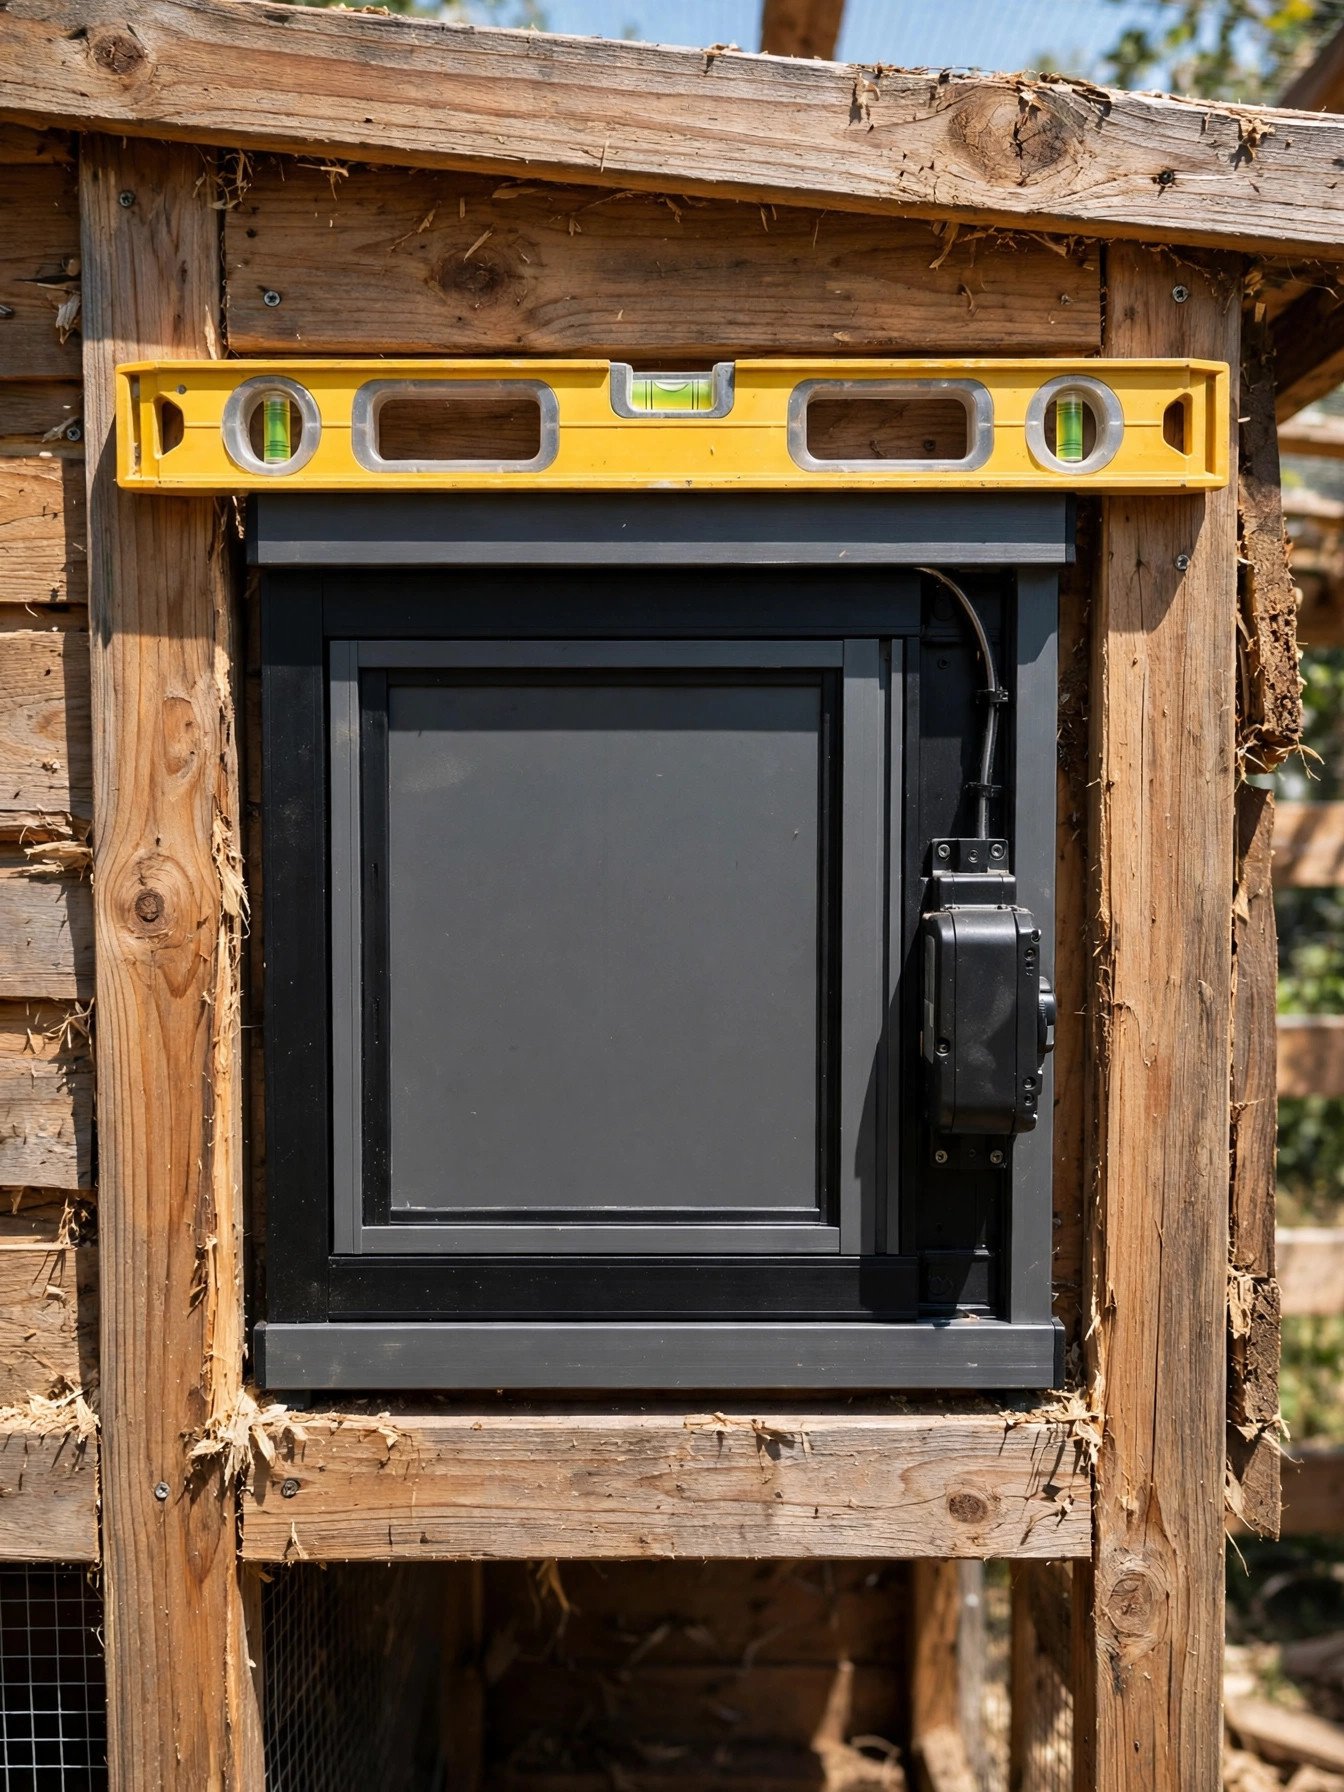
The method is simple. Offer the unit up, level it across the top, and mark the screw holes. Fit the top screws first and leave them a turn loose. Hang the door from those, check the level again, then run the panel up and down by hand or with the manual control — it should travel the full distance without a tight spot. Only then fit the remaining screws, snugging them evenly, corner to corner, the way you would tighten wheel nuts. If the wall itself is uneven, slip a thin shim behind the frame rather than pulling the frame down to the wall; bending a frame to match a bent wall is how racked doors are born.
Finish the joint properly. A bead of exterior sealant around the frame, or a thin trim batten screwed over the join, keeps rain out of the wall — and it also removes the shadow gap around the edge, which matters for reasons the predator section below gets into.
Step 4: Power and Programming
Power first. Battery doors want fresh batteries fitted now, not the half used set from the kitchen drawer — lithium cells if your winters are cold, because ordinary alkaline batteries fade badly in freezing weather. A door with a built in rechargeable battery, like the example above, wants a full charge before its first calibration. Solar models want their panel facing the sun — south in the northern hemisphere — mounted above the shade line of the coop roof, with the cable clipped tidy and out of pecking reach. A loose cable at hen height is a toy, and hens play rough.
Then set the door’s brain up while you are standing there with coffee in hand, not from the kitchen later. Set the clock. If the model calibrates its open and closed positions — many do, on first setup — let it run that cycle and watch it finish. Then choose how it will decide: fixed timer, light sensor, or a combined mode if yours offers one. Timer is predictable and follows your flock; light follows the seasons by itself. Still undecided between a solar setup and plain batteries? Our solar vs battery automatic coop doors comparison covers the real differences, which mostly come down to shade and winters.
Whichever mode you pick, use the closing delay, or set the timer late on purpose. Every flock has a bird who treats dusk as a suggestion. Closing 15 to 30 minutes after the flock’s usual roosting time costs the hens nothing and saves the straggler a night outside. Then run two full open and close cycles while you watch, start to finish, before you declare the job done.
Step 5: The Test Week
For the first three evenings, be outside at closing time. Not because the door needs you — because you need the information. Note who goes in last, and when, relative to the door. If the door beats the last hen home twice, move the closing time later. Mornings count too: glance out and confirm the flock is actually out, because a door that failed to open looks exactly like a flock having a lie in until somebody checks.
During that week, run the safety check the manufacturers themselves tell you to run. With the door set to close, place a soft obstacle under the panel — a rolled up towel or a chunk of foam — and let the door come down on it. The panel should stop, and on most models reverse or lift, exactly as the manual describes. Do this with the towel, never with your hand, and do it now, in daylight, while it is a test and not an emergency.
After the first rain and the first genuinely cold night, walk the door through one more cycle and clear the sill. Packed shavings in the bottom track are the single most common owner reported cause of a door found half closed at dawn — a two minute sweep with an old brush, once a week, is the whole maintenance contract.
Mistakes That Let Predators In
An automatic door is a security device that happens to move. It is only as good as the worst gap around it, and most predator failures owners report are fitting failures, not door failures:
- An unsealed edge. A gap much over half an inch between frame and wall is a pry point a raccoon can hook claws into and work on all night, and a determined weasel needs barely an inch of opening anywhere. Sealant and trim are security hardware, not decoration
- Short screws in thin walls. Raccoons do not unscrew doors — they lean, pull and worry at them until short screws tear out of thin prefab plywood. If your coop wall is flimsy, screw through into a backing board inside so the load spreads
- The run side latch trap. Keepers sometimes add a simple slide bolt on the outside “for extra security”. Raccoons slide bolts for entertainment. If you add a backup latch at all, it has to be a two step locking type, and it has to be one you will honestly use every night
- A sill buried in litter. Bedding packed into the track can hold the panel a finger’s width off closed. At night, that finger’s width is the front door, held open. This is why Step 1 put the sill up off the floor
- Loose cables and cords within reach. Anything a predator can grab, chew or pull from outside the mesh deserves routing inside or clipping flat
Once the door is in, give the whole coop the same honest once over with our guide on how to predator proof a chicken coop — a good door on an unproofed coop is a strong lock on a tent.
Frequently Asked Questions
How long does it take to install an automatic chicken door?
About an hour for a one piece door, start to finish, and most of that hour is measuring, marking and leveling rather than cutting or screwing. Doors with a separate control box or a solar panel to mount separately run a little longer. A second hour in the same week — spread over three dusks — is the test week, and it is not optional.
Can I fit an automatic door to a prefab kit coop?
Usually, yes, with two checks. First, the wall needs a flat section at least the size of the unit — measure the door against the wall, not against the listing. Second, thin kit coop walls give screws very little to bite into, so screw through into a backing board fitted inside, or mount the door onto a trimmed plywood panel and fix the panel to the coop. Both fixes are cheap, and either beats a door pulled off by a raccoon in month two.
What happens to a hen who is still outside when the door closes?
She will roost as close to home as she can manage — on the ramp, on top of the coop, in the nearest bush — and spend the night exposed. One night in mild weather rarely does lasting harm, but it is a real predator risk and a stressed bird in the morning. The fix is timing, not worry: set the closing delay so the door shuts after your flock’s true last bird, and let the test week show you who that bird is.
Does an automatic chicken door need mains power at the coop?
No. Almost every door made for backyard coops runs on batteries or a small solar panel, and the battery models go months to over a year between charges or changes depending on the model. A few offer a mains adapter as an option for coops that happen to sit near an outlet, but it is a luxury, not a requirement — no electrician, no trench, no extension lead across the yard.
The Bottom Line
Measure twice. Mount it dead level. Seal the edges like they matter, because to a raccoon they do. Then spend one week watching dusk, set the closing time around your slowest hen, and the door will quietly do the two hardest chores in chicken keeping — opening at dawn and locking up at dark — for years. Still choosing the door itself? Go back to our automatic chicken coop doors guide and pick the model first. The hole in the wall is the easy part; it just has to be the right hole, in the right wall, fitted straight.