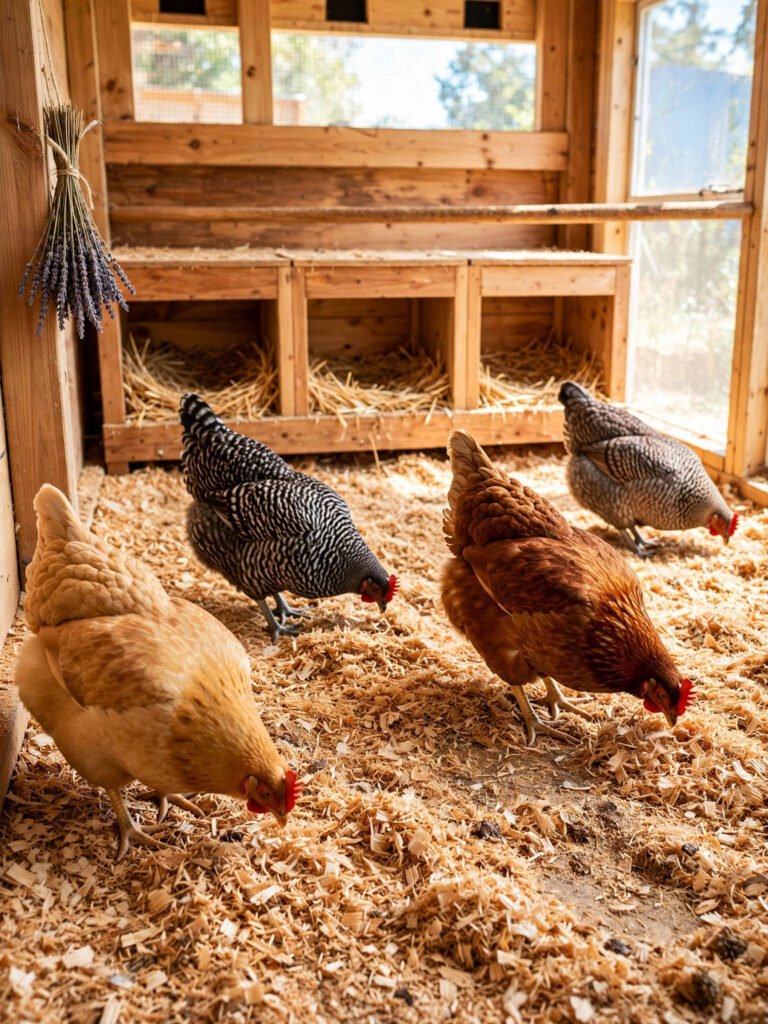
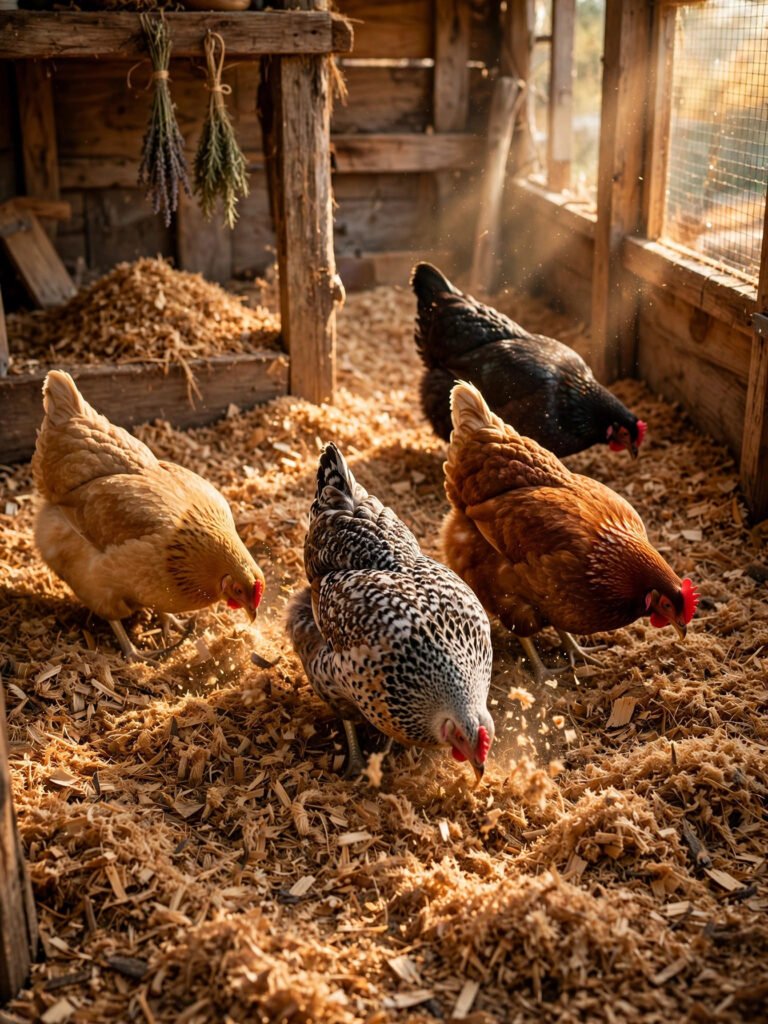

Short answer first: the deep litter method means you stop cleaning your coop out and start composting in it. You lay down 4 to 6 inches of dry, carbon-rich bedding, then instead of stripping it weekly you keep adding fresh bedding on top and turning the pack over. The manure disappears into the litter instead of piling up on it, and a well-run pack carries a flock for 6 to 12 months between full cleanouts — at which point what you shovel out is not waste, it is garden compost. Done right, the coop smells like a forest floor, not a chicken coop. Done wrong, it smells like ammonia and regret, and this page is mostly about the line between those two.
One honest note before the how-to: deep litter is not the lazy option, whatever the forum posts promise. It swaps a weekly cleanout for a five-minute weekly routine and a short list of rules you actually have to follow. Skip the routine and the rules, and you do not have deep litter — you have deep manure. But keep them, and it is the lowest-work, lowest-smell bedding system a backyard flock can run on, which is why it is the system behind half the “my coop never smells” claims you read. The bedding itself matters too, and if you have not settled on a material yet, start with our comparison of the best chicken coop bedding — deep litter works with pine shavings, chopped straw or hemp, but it starts with one of them.
How the Deep Litter Method Actually Works
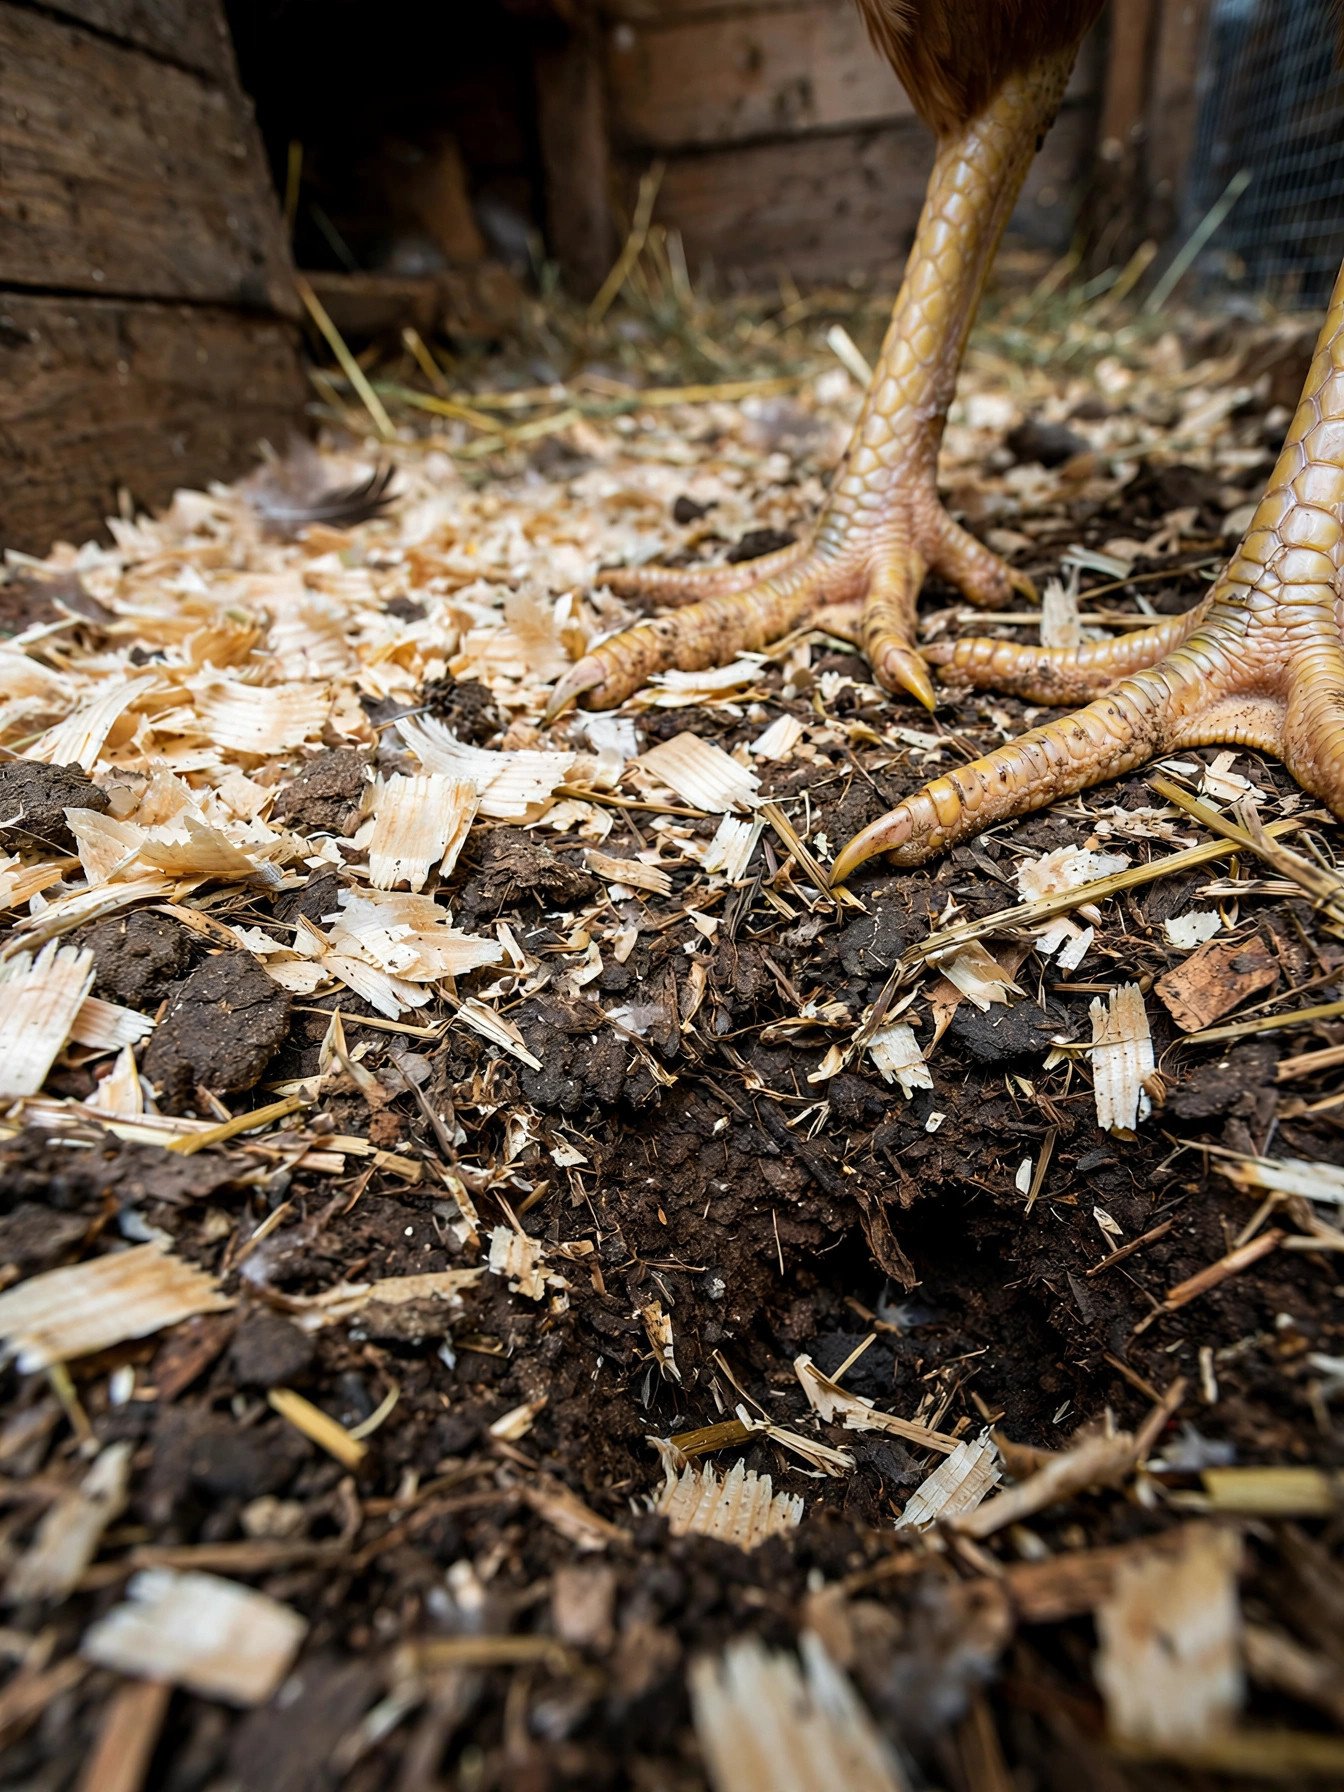
The cleaning crew is not you. It is microbes. A deep litter pack is a slow compost pile with hens living on top of it, and it runs on the same recipe as any compost: carbon from the bedding, nitrogen from the droppings, a little moisture, and oxygen from turning. Get those four roughly balanced and bacteria and fungi break the manure down in place, droplet by droplet, before it has time to build up and stink. The finished material works its way to the bottom of the pack as a dark, crumbly layer that looks and smells like garden soil — because that is what it is becoming.
Two balances do most of the work. The first is carbon against nitrogen: droppings are potent, so every time the pack starts to smell like ammonia, it is not dirty — it is hungry. The fix is never to clean it out; it is to feed it another layer of dry bedding. The second is moisture. The pack should feel like a wrung-out sponge, barely damp. Too dry and the microbes go dormant and the manure just sits there. Too wet and the air leaves the pile, the wrong bacteria take over, and you get the swamp smell that gives this method a bad name. Most of that moisture escapes through the coop itself, which is why deep litter and good chicken coop ventilation are a package deal — vents up high carry damp air out all winter without a draft on the roosts.
The base material carries the whole system, and large-flake pine shavings are the base most keepers build on: cheap, absorbent, slow to mat down, and carbon-rich enough to keep up with a laying flock. This is the bale our bedding guide rates as the default pick, and it earns the spot here too.

- 141 liter compressed bale (12 lb) that expands to more than 2.5 times its packed size once opened — one bag beds a standard coop floor
- 100% natural pine shavings, sustainably sourced from U.S. pine, with nothing added
- Large flakes stay loose and turnable for months, which is exactly what a deep litter pack needs — fine, dusty bedding packs down and suffocates the microbes
Deep Litter, Month by Month
Here is the part most guides skip: what the pack actually does across a year, and what your job is at each stage. The litter changes character as it matures, and knowing what month you are in tells you whether what you are seeing is normal or a warning.
| Stage | What is happening in the pack | Your job |
|---|---|---|
| Month 1 — setup | Fresh bedding, 4 to 6 inches deep. Nothing is composting yet; the litter is just bedding, and droppings sit on top of it | Start on a clean, dry floor. Turn the top layer weekly and add a fresh inch whenever droppings start showing on the surface |
| Months 2 to 3 — the pack wakes up | The bottom layers darken and start to crumble. Earthy smell when you turn it. The pack may feel faintly warm in the middle on a cold morning — that is the microbes working, and it is a good sign | Keep turning and topping up. The pack should be building toward 6 to 8 inches. This is where most people quit too early — give it time |
| Months 4 to 6 — steady state | The system is running itself. Droppings vanish into the pack within a day or two, the surface stays dry and springy, and the coop smells like soil after rain | Five minutes a week: turn, top up, done. Watch the wet spots under the roosts and waterer — they need extra bedding, not extra worry |
| Months 6 to 12 — harvest and restart | The pack is 8 to 12 inches deep and the bottom half is finished compost. Hens start kicking litter into feeders and out the door — the pack is telling you it is full | Shovel out most of it, but leave an inch or two of the old litter behind as a starter culture. Spread the harvest on a compost pile to rest, then rebuild the base with fresh bedding |
About that harvest, because it is half the reason to bother: what comes out of a mature pack is largely composted, but it is still a little hot and a little fresh at the top. Pile it somewhere out of the rain and let it rest for a few months — over a winter is perfect — and it finishes into the kind of dark, mild compost gardeners buy by the bag. Spread it straight on beds the day it comes out and the fresher top layer can burn tender plants. Rested, it is some of the best free garden food a flock produces, eggs included.
The Weekly Routine: Five Minutes, Mostly Done by the Hens
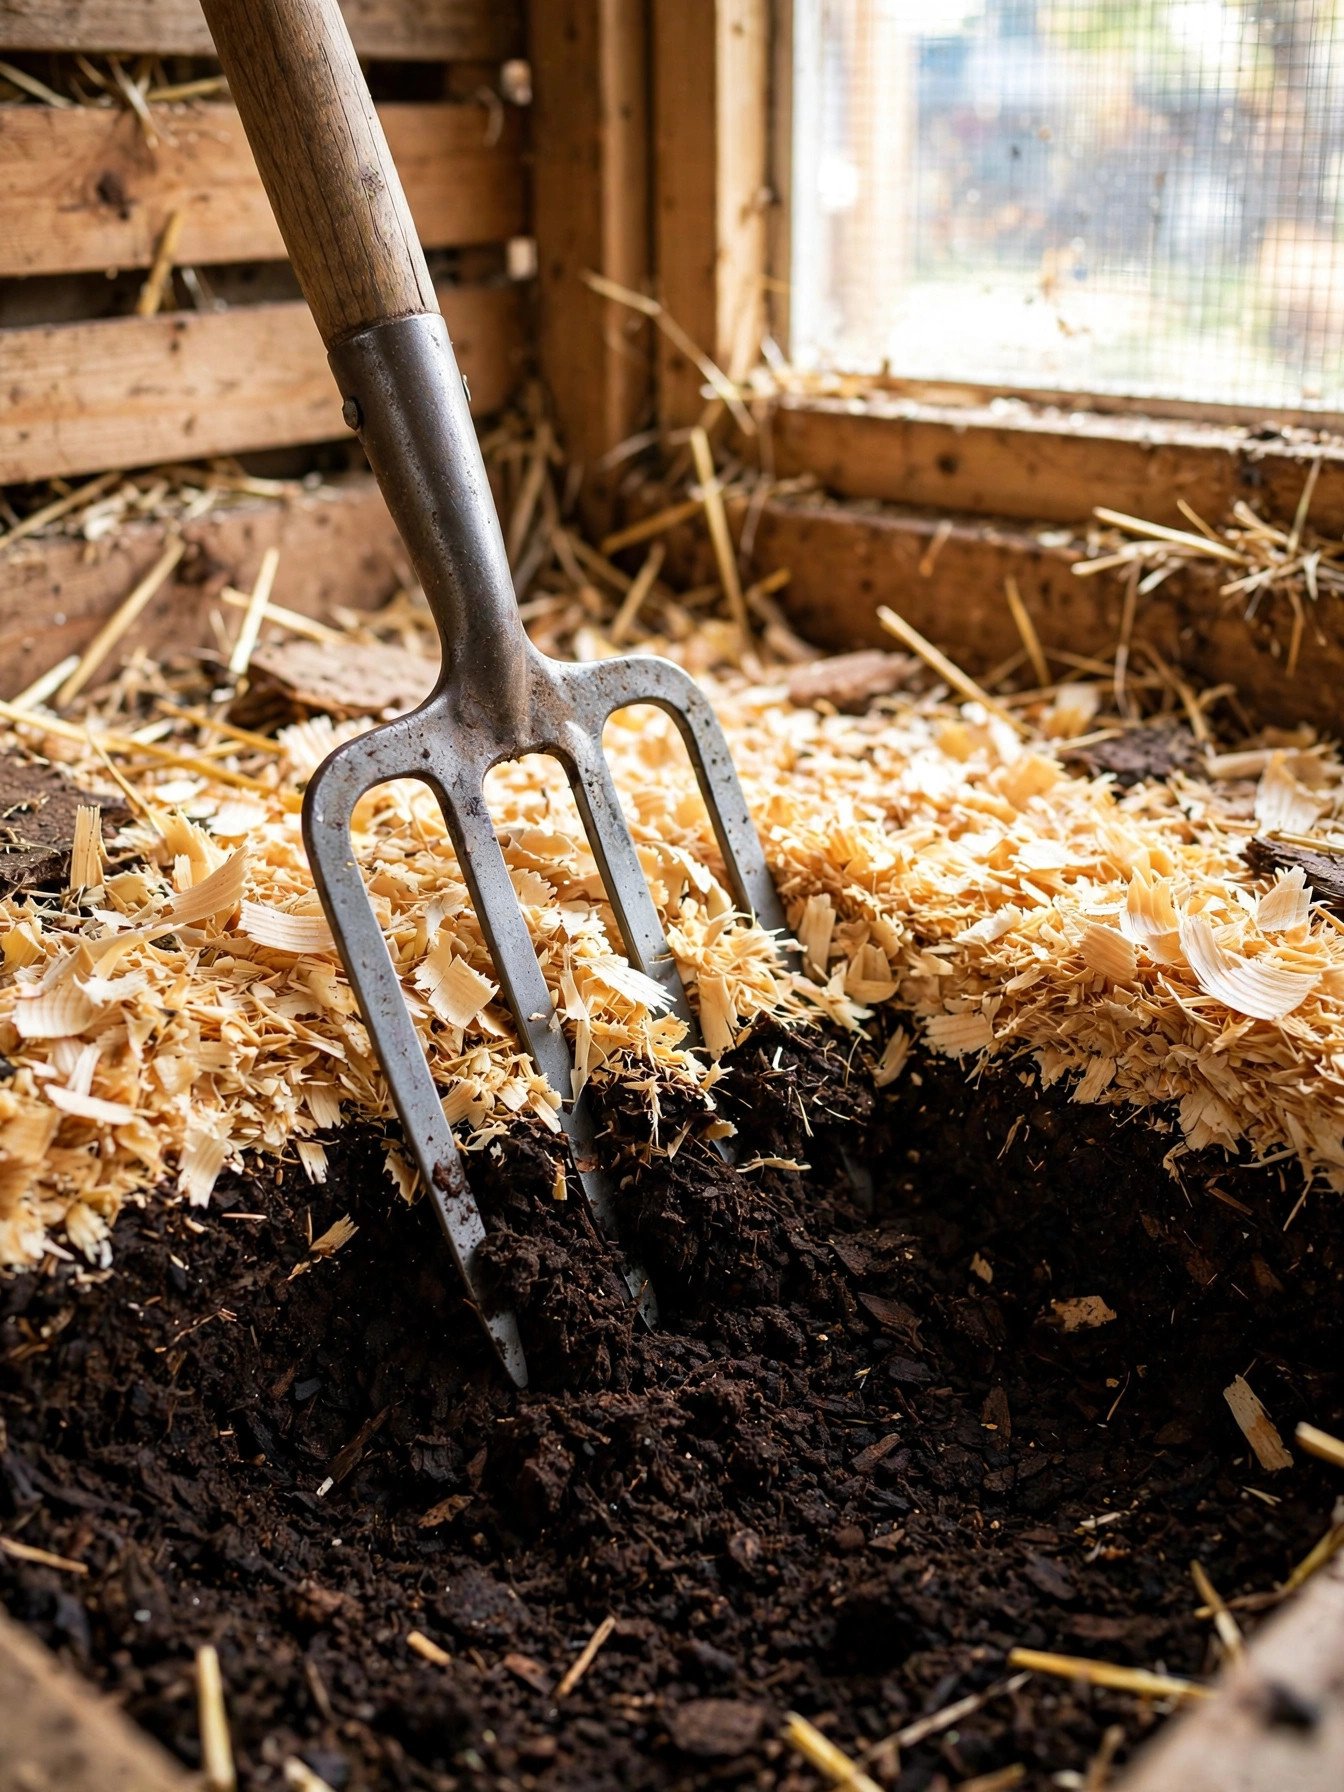
The whole maintenance schedule fits in the time it takes to collect eggs. Once or twice a week, walk in with a rake or a fork and turn the pack — flip the surface layer under, pull the dry edges into the damp middle, and break up the dense mat that forms under the roosts, because that is where 80% of the droppings land. Then top it up: a fresh layer of bedding over the top, an inch at a time, thickest where the traffic and the manure are heaviest. If the surface looks clean and dry when you walk in next time, the microbes are keeping up and you did it right.
And here is the trick that makes the routine feel like cheating: let the hens do the turning. Just before you leave the coop, scatter a small handful of scratch grains across the litter. A flock will spend the next hour happily excavating the entire floor looking for the last grain, flipping bedding better than any rake, and aerating the pack for free. Do it in the morning and the day’s droppings get buried and mixed the same day they land. Keep the scratch small — it is a tool, not a meal — and the flock stays lean while the litter stays turned.
The Rules That Keep It From Failing
Almost every deep litter failure I hear about breaks one of these five rules. None of them are hard. All of them are unforgiving.
- Dry is everything. Water is the one input that can drown the system, so fix the leaks before you start, not after: the roof drip that lands in the corner, the door the rain blows under, the waterer that sloshes every time a hen bumps it. Keep the waterer in the run if you can, or stand it on a tray inside. A pack that stays dry on top will forgive almost anything else.
- Your nose is the test kit. A healthy pack smells earthy, faintly sweet, like a garden in spring. The moment you catch ammonia — that sharp smell that stings — the pack is short of carbon, not dirty. Do not clean it out. Add a generous layer of fresh dry bedding, turn it well, and the smell should be gone within a day or two. Plenty of keepers also keep a zeolite coop refresher like Sweet PDZ Coop Refresher on hand for this — the mineral granules absorb moisture and trap ammonia while the new bedding catches up. It is a useful bandage, but treat it as one: it buys the microbes time, it does not replace the carbon they are asking for.
- Never start on a wet floor. Deep litter begun on mud, a damp slab or a floor that floods in spring rain is lost before it starts — the bottom goes anaerobic and stays that way. Scrape the floor clean and dry, wait for a dry stretch if you have to, and begin on the driest day you can get.
- Know your floor. An earth or dirt floor is the classic deep litter partner: soil microbes join the crew from below and small amounts of moisture wick away instead of pooling. Concrete and wood floors work too, but they hold moisture in the pack, so start a touch deeper, turn a touch more often, and watch the bottom layer when you fork it over — if it is soggy rather than crumbly, add dry bedding and check for a leak.
- Do not stir in extras the pack did not ask for. No daily lime rituals, no mystery powders. Plain agricultural lime or zeolite in small amounts for odor is fine. The system is bedding, droppings, air and time — everything else is decoration.
When Deep Litter Is the Wrong Choice
Honesty section, because this method gets oversold. Deep litter needs a minimum depth of pack and a minimum amount of floor to dilute a flock’s output, so it struggles in a tiny coop — a small tractor or a mini coop you are scraping out weekly anyway gains nothing from a compost pile it has no room to hold, and if the hens are already tight on floor space, giving up inches of headroom to litter makes a snug coop worse. Our guide to how much space chickens need is the check to run first; deep litter suits coops that meet the 4 square feet per hen rule with room to spare. It is also the wrong choice on a chronically wet site — a coop that floods, sits in a dip, or never dries out between rains will defeat any amount of turning, and those yards are better served by sand in the run and a simple, frequently changed bedding layer inside. And skip it if you cannot stand any smell at all. A healthy pack is genuinely mild — visitors are usually surprised — but it smells like a barn on the best day of its life, not like nothing. If your standard is a coop that smells like a freshly mopped kitchen floor, daily scooping is your method, and there is no shame in it.
Frequently Asked Questions
Does the deep litter method smell?
A healthy pack, no — or rather, it smells like soil and dry bedding, which most people find closer to a garden than a coop. The sharp ammonia smell means the litter is short of fresh carbon, and the fix is more dry bedding and a good turning, not a cleanout. A sour, swampy smell means the pack is too wet, and that one is a leak or drainage problem to solve at the source.
How deep should deep litter get?
Start at 4 to 6 inches and let it build. Most coops run happily at 6 to 10 inches through the middle of the cycle, and 12 inches by harvest time is normal. If litter starts spilling out the door or burying the waterer, the pack is not failing — it is full, and it is telling you the cleanout is due.
When is the best time to start deep litter?
Early autumn is the classic start: the pack matures through winter, when the faint warmth of the composting layer is a small bonus and weekly cleanouts would be at their most miserable. Spring works too. Starting in the wettest month of your year stacks the deck against you, and starting with chicks is a separate question — raise youngsters on fresh, clean bedding for their first weeks, then move them onto an established or freshly started pack once they are feathered and sturdy.
Can I use straw or leaves instead of pine shavings?
Yes, with eyes open. Chopped straw works but mats down faster than shavings, so it needs more turning and more frequent top-ups. Dry autumn leaves are free, carbon-rich and loved by hens, but they break down fast and disappear into the pack — treat them as a supplement mixed into shavings rather than the whole base. What does not work is anything that arrives damp, dusty or fine enough to pack into a solid mat.
Is deep litter safe and sanitary for the hens?
A balanced pack is a genuinely healthy floor: dry on top where the hens walk and scratch, which keeps feet clean and droppings buried and breaking down instead of sitting in the open. The sanitary failures all come from the same place — a wet, neglected pack where droppings accumulate faster than the microbes can process them. Keep the top dry, keep it turned, and the floor the hens live on stays the cleanest part of the system.
The Bottom Line
The deep litter method, in one breath: start with 4 to 6 inches of dry pine shavings on a dry floor, turn the pack and top it up a few minutes a week, let the hens’ scratching do half the turning, feed the litter fresh carbon the moment your nose catches ammonia, and shovel out garden compost once or twice a year — leaving a little old litter behind to seed the next round. It asks for consistency instead of effort, which is a trade most keepers are happy to make by their second winter. Setting up a coop from scratch and deciding where litter fits into the whole picture? Our complete guide to backyard chickens for beginners walks the full setup in the order you will actually do it.